Whole-Wheat Bread for Bread Machine

.

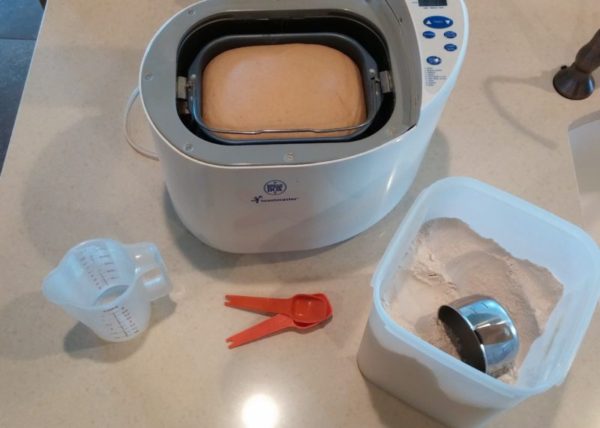
This whole-wheat bread recipe was written for a bread machine–such an easy way to make dough, just the perfect amount of kneading with no effort, and cleanup couldn’t be easier.  When I was working at the office, I set the automatic timer and baked it in the machine.

.

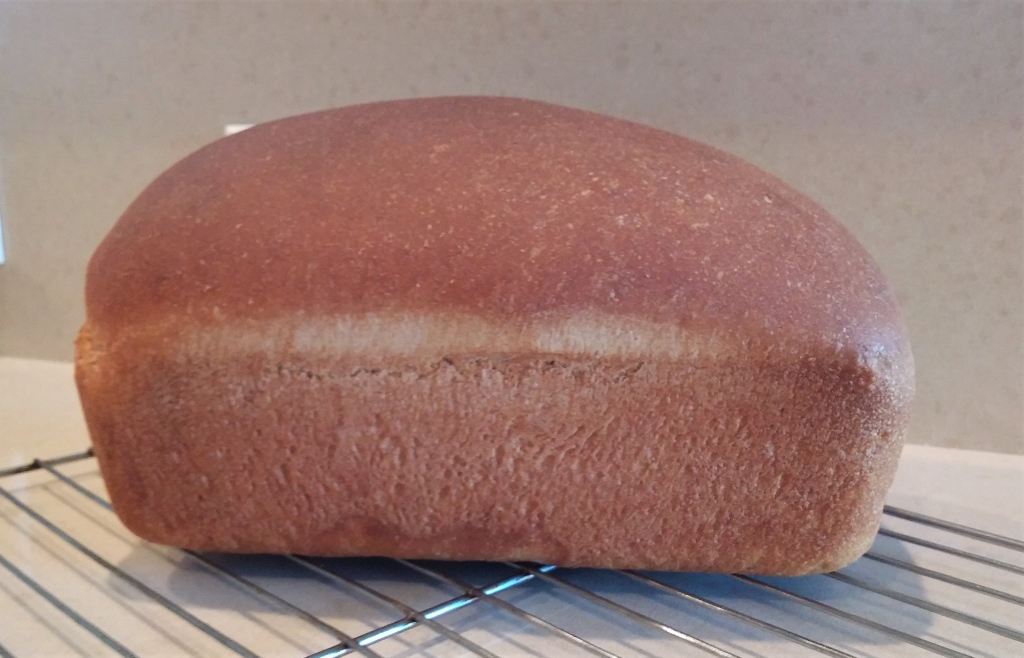
Now that I work from home, I prefer to use the dough cycle, form the loaf by hand and bake it in a conventional oven.

.

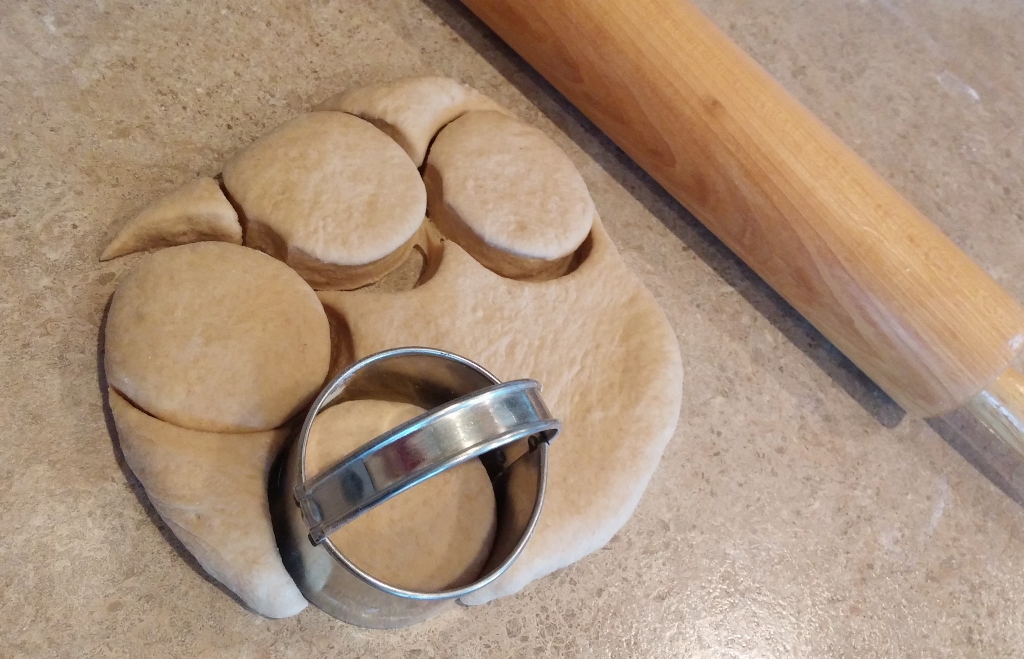
By increasing the water to two cups and adding more flour, you can get enough dough for a loaf of bread AND some extra dough for fun! From that extra dough I can choose to make a few bread sticks, four cinnamon rolls, four burger buns or a small pizza crust. Some of us never really grow up, we just choose to play in the kitchen!

.

.

Whole-Wheat Bread for Bread Machine

Servings – One 2 lb. loaf
Prep Time – 15 minutes
Passive Time – 1 hour 15 minutes--this could vary
Cook Time – 40 minutes, conventional oven

Ingredients:

1 3/4 cup water

3 tbsp honey

2 tbsp oil

1 1/2 tsp lecithin granules (use sunflower lecithin for soy free ) or 1 1/2 tsp flax meal

1 1/4 tsp salt

4-5 cups whole-wheat flour —white whole-wheat flour makes a lighter product

1 tbsp dry baking yeast


Instructions:
  1. In the loaf pan of your bread machine, COMBINE ingredients in order given.
  2. If you are using the advanced timer, MAKE a well in the top of the flour and put your yeast there; be sure it doesn’t touch the liquids.
  3. FOLLOW the directions for your bread machine. I have found that the basic cycle works best if you are baking it in the machine as most whole wheat cycles let it raise too long and the loaf tends to cave in on the top and become heavy.
  4. TIP–when the machine has mixed the flour into a nice ball, press the ball with your finger. If it is soft to the touch, this is perfect!  If the dough is stiff, then add a tablespoon of water as it keeps mixing.  If the dough is sticking to the sides of the pan, then add a tablespoon or two of flour depending on how sticky it is. Let it knead that into a ball and check it again. This will assure that your bread dough is just right for a nice tender loaf of bread. Obviously, you can’t do this if you are setting the advanced timer and it is baking while you are away.
  5. You can let the machine take over from here.

Instructions for using Dough Cycle to bake in the oven:

  1. In the loaf pan of your bread machine, COMBINE ingredients in order given.
  2. Start the “dough cycle” and let it mix the ingredients into a ball.
  3. TIP–when the machine has mixed the flour into a nice ball, press the ball with your finger. If it is soft to the touch, this is perfect!  If the dough is stiff, then while it continues to mix add a tablespoon or two of water, depending on how stiff it is.  If the dough is sticking to the sides of the pan, then add a tablespoon or two of flour depending on how sticky it is. Let it knead that into a ball and check it again (don’t rush it as it takes a few minutes for it to mix it well). This will assure that your bread dough is just right for a nice tender loaf of bread. 
  4. When it is through mixing and raising, REMOVE from the pan, lightly punch it down, and PLACE on a floured counter.  It is ready to use for whatever you want to make: bread, burger buns, pizza dough, bread sticks, dinner rolls–you name it!
  5. FORM a loaf by kneading the dough to remove any air bubbles. Keep folding the edges over and pressing on the dough with the palms of your hands, keeping the bottom side smooth and seamless. Or, you can roll the dough with a rolling pin until it is a rectangle  with the narrow side being the same width as your bread pan. Then start rolling from the narrow side into a tight roll, pinching the dough together when it is all rolled up.  Turn the seam side down and smack it a few times to get out any remaining air bubbles.
  6. PUT it in a well prepared bread pan with the seam side down.  LET RISE until double. If the dough springs back when pressed with a finger, it is not quite y for the oven; it needs to leave a slight indention before oven ready.  Watch carefully as this can happen in a matter of minutes and over-proofing will make a heavy loaf.  While the bread is rising, preheat your oven to 350 degrees.
  7. BAKE approximately 40 minutes. Remove immediately from pan to cool on a rack so it won’t sweat.


Notes:

If your loaf caves in on top, You may want to try a little more flour; using very cold water; adding a tablespoon of vital wheat flour; and/or not using the whole-wheat cycle, just the basic cycle. Some machines have a heated raising cycle and this tends toward over-raising which results in a sunken top. The soy lecithin and flax seed both help the loaf retain its shape.